How to Add Jobs – Updated Version (Go Welocity Portal)
Article K018
Last updated 4 months ago
Overview
The Add Jobs feature in the Go Welocity portal allows recruiters to create new job requirements quickly using the AI-powered assistant (Octo).
Instead of manually drafting long job descriptions, recruiters can enter a job title and let the system generate a structured JD within seconds.

This ensures:
Faster job creation
Standardized job descriptions
Better candidate matching
Reduced manual effort
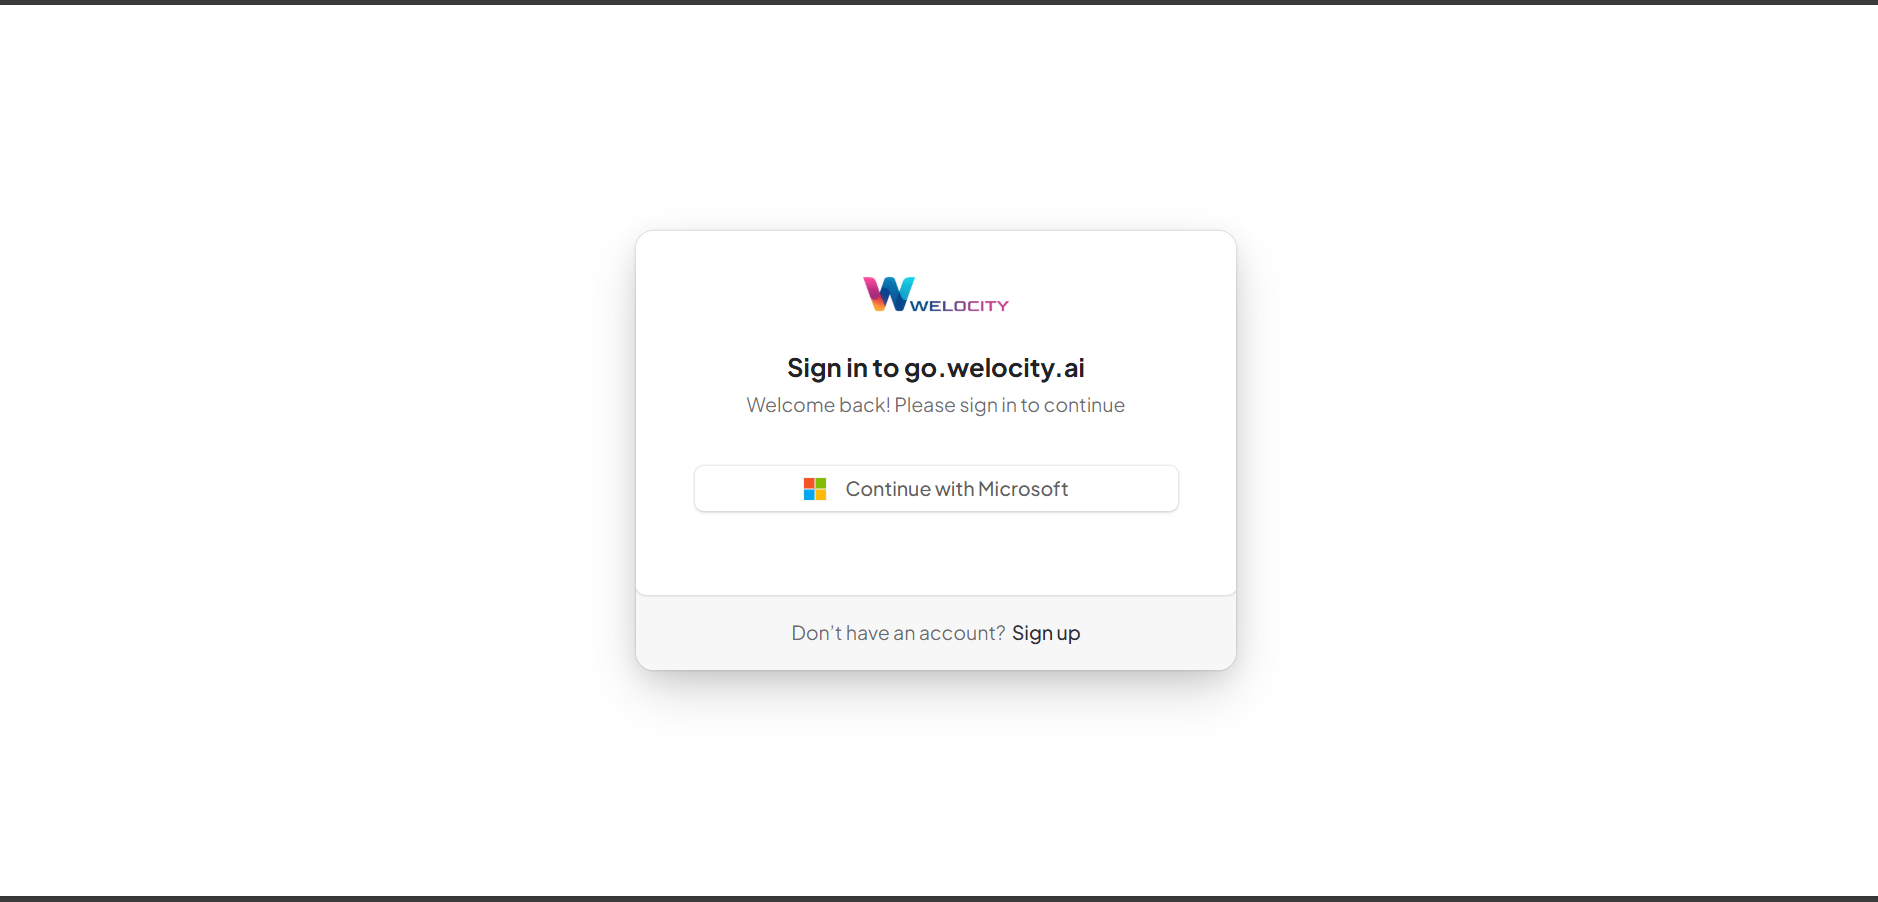
Step 1: Log in to the Go Welocity Portal
Open: https://go.welocity.ai/
Sign in using your credentials.
You will land on the Command Center dashboard.
Step 2: Navigate to Open Jobs
Click on Open Jobs from the top navigation bar.
The Open Jobs page will display all active job requirements.
Click the + Add Job button on the top-right corner.
You will be redirected to the Add Jobs page.
Step 3: Use the AI Job Creation Assistant (Octo)
On the Add Jobs page, you will see the AI assistant interface.
Octo will prompt you to enter:
Job Title
Example:
Senior Java Developer
Data Analyst
DevOps Engineer
Type the job title in the input field and click the arrow button to proceed.
Step 4: Provide Job Details (If Prompted)
After entering the job title, the AI assistant may ask for additional details such as:
Required experience range
Key technical skills
Location
CTC range
Employment type
Client name
Provide accurate details to generate a more precise job description.
Step 5: Review the Generated Job Description
Octo will automatically generate:
Role summary
Responsibilities
Required skills
Preferred qualifications
Experience requirements
Carefully review the generated content.
You can:
Edit sections manually
Add missing requirements
Remove irrelevant content
Adjust formatting
Always verify accuracy before saving.
Step 6: Save and Publish the Job
Once the job details are finalized:
Click Save or Publish (depending on workflow settings).
The job will now appear under the Open Jobs list.
Recruiters can begin sourcing candidates immediately.
After Job Creation
Once a job is created:
It becomes visible in the Open Jobs section.
Raptor can be used to fetch ranked candidates.
The 100 Mins option (if applicable) can be activated.
Recruiters can start uploading or submitting CVs.
Important Notes
Ensure client name and CTC details are correct before publishing.
Double-check mandatory skills to improve CV Match accuracy.
Use standardized titles to improve AI search and sourcing quality.
Avoid vague job titles like “Developer” — be specific.
Troubleshooting
If the Add Job button is not visible:
Check your role permissions.
Confirm you are in the Go Welocity portal (not the client portal).
Contact the admin if access is restricted.
Summary
The updated Add Jobs workflow in Go Welocity is designed to make job creation:
Fast
AI-assisted
Structured
Recruiter-friendly
Using Octo reduces drafting time while maintaining JD quality and improving candidate matching efficiency.